Hi everyone Today I’m going to show you how to take your Raspberry Pi and make it even cooler by connecting an ESC and brushless motor. I’ve got a step-by-step tutorial that will have you up and running in no time – so let’s get started on giving your Raspberry Pi some added oomph!
Step-1 (What we need)
Here’s a simple list of things we need to get this project started.
- ESC
- Jumper cables
- BLDC motor
- LiPo battery or another DC power source
- At last, the brain “Raspberry Pi” (any model will do fine :))
All these components are really easy to find. You will be able to find them in pretty much all giant e-commerce stores like Amazon, eBay, etc.
Step-2 (Let’s connect this bad boy together! Right?!!)
Let’s take a look at our favorite but mischievous friend who we have to handle really carefully, or he’s going to bite (I mean, in this scenario, fry up our raspberry pi)
ESC!! or Electronic speed controller
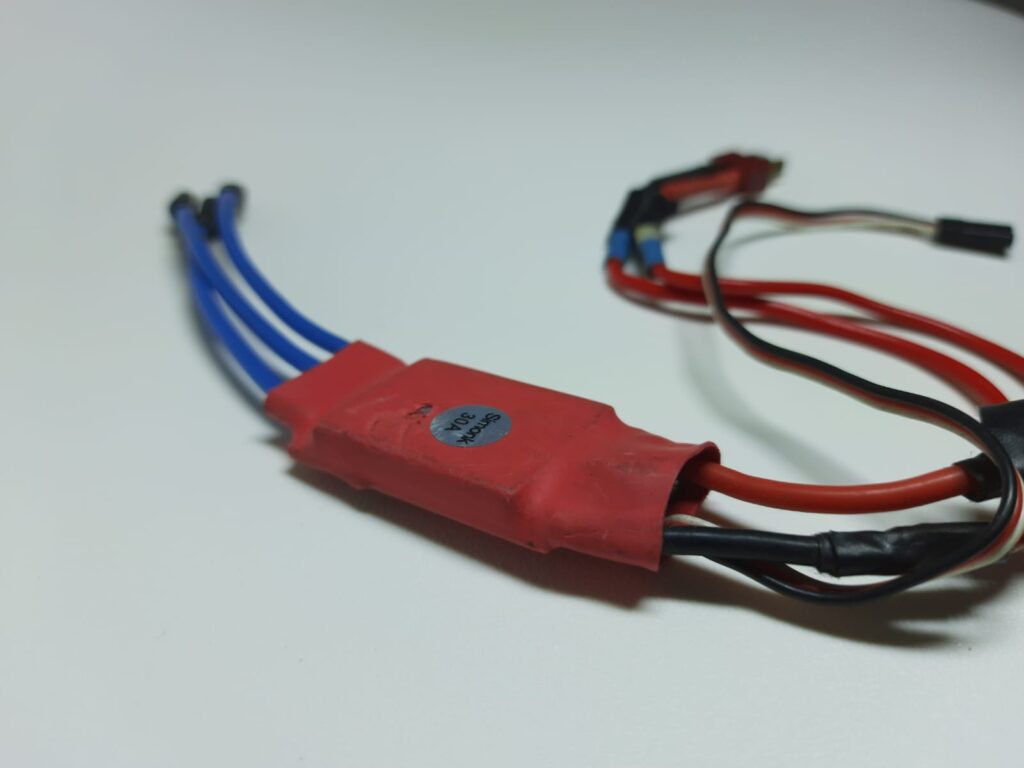
ESCs quite often have two connectors on one end and three wires for connecting the BLDC motor on the other end.

These blue ones are for connecting the BLDC motor to the ESC

This big pair is for connecting the battery to the ESC so that it can power the motor.
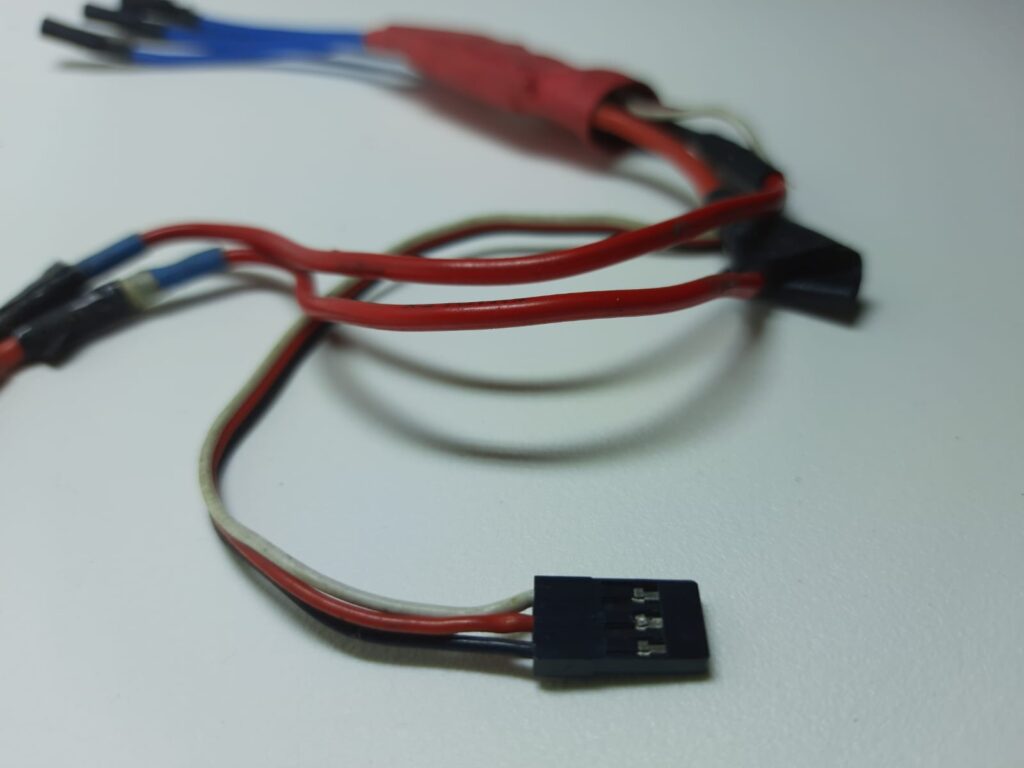
And at last, this fancy connector is used to connect the ESC to the control unit, like the flight controller, or RC receiver.
Next up lets meet our beeping friend!
BLDC motor!! or Brushless Direct Current motor
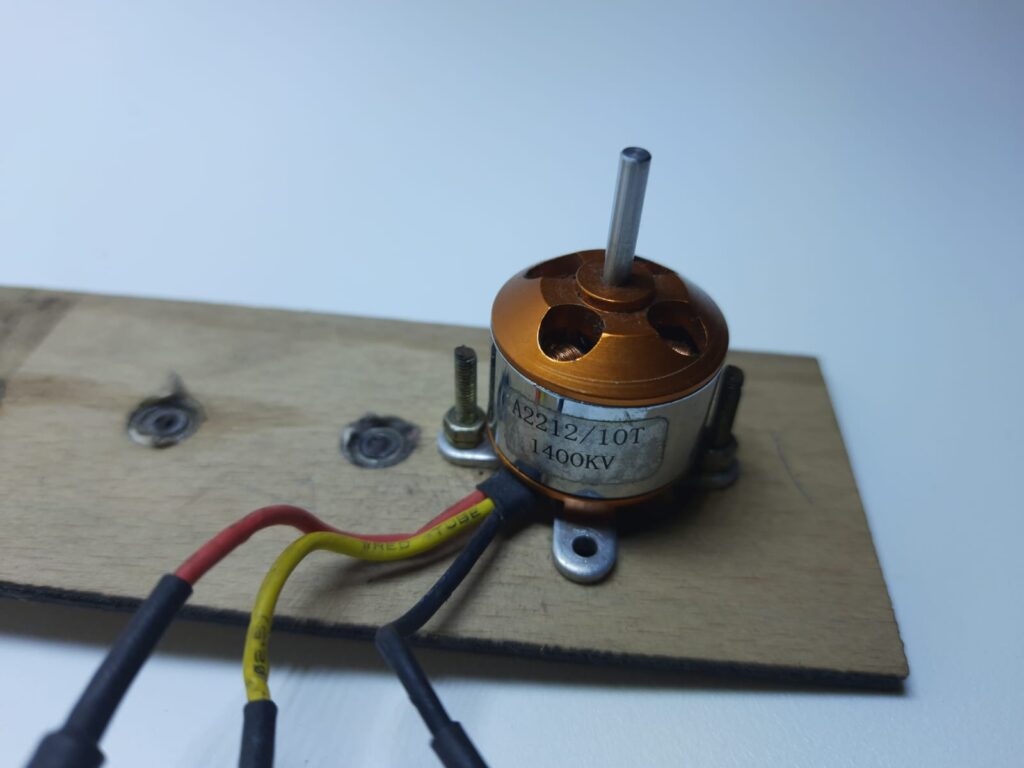
Here I have a 1400Kv motor.
BLDC motors are renowned for their efficiency and durability, as they do not contain brushes or a commutator.
Despite being powered by a DC source, the motor is driven by an ESC (electronic speed control) which converts the DC current from the battery into an AC signal. This allows the motor to operate with an AC current, providing more powerful and efficient results.

Normally BLDC motors have 3 wires like the one above, connecting them to ESC is also fairly simple.
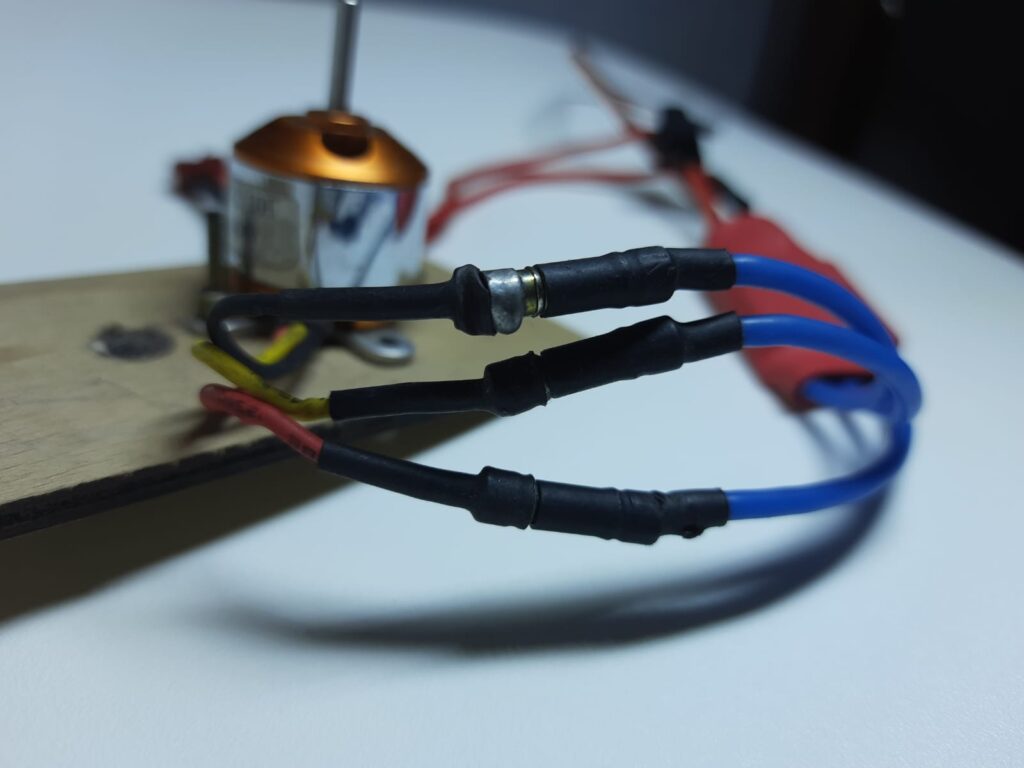
You just have to connect these wires from the motor into the three motor terminals on the ESC
Now time for our star of the show…………. 🥁
The brain, Raspberry Pi!

Raspberry Pi is a credit card sized single-board computer that’s really just the most awesome piece of tech ever. It’s been used everywhere, from personal computers, IoT machines, robotics, to even helicopter missiles!
You doubt the missile thing??
Now when handling Raspberry Pi, be extremely delicate with it. Even though it’s really durable, you don’t want to risk damaging it.
Now inside a Raspberry Pi, you’ll be able to see a grid of metal connector pins which kinda looks like 2 rows of spikes.

In here, find the GPIO 4 pin and a convenient ground pin, so that we can connect our ESC to its brain.
If you have any doubt about which pin is what, just google it or type pinout in the terminal of the pi you are using for this project.
Also, here’s a pinout diagram of Raspberry Pi 4 B for reference.

Do you remember that fancy connector in ESC we earlier talk about, Yeah!
Now we are going to connect that to our Raspberry Pi!

When connecting the ESC to the Raspberry Pi, make sure not to connect the red wire to the Pi. We only have to connect the black and white wires.
The white wire should be connected to the GPIO 4 pin and the black one to the ground pin of the Pi.

After all is done, plug the power cable into the Pi and turn it on!
Do you know what time it is now?
It’s time for coding!!!
Step-3 (Let’s get spinning!)
Now after everything is connected, let’s make it spin!
The script, the code, the secret
First, fill out the form below to download the Python script I created for you.
Next, copy this file to your Raspberry Pi and open it with Geany or any code editor of your preference.
Now, make any necessary adjustments. Then build, compile, and finally execute the code.
Listen closely! You’ll hear a couple of distinguished beeps and then, *vroom*, the BLDC motor will come alive, slowly spinning up to its max speed before coming back down again. And it’ll keep on doing this as long as the code is running!
When you have enough fun watching your BLDC motor spin. You can stop the motor from spinning by hitting ctrl+c in Raspberri Pi or by closing the window above.
Now that you have fully grasped the process of controlling an ESC with the Raspberry Pi, go out and create something extraordinary! Once your project is complete, share it with us in the comment section below. I’m eager to hear about your success!